How to Insert an Image in a Webpage
Hello class! Today, we’re going to learn about a fundamental skill in web development: inserting images into webpages. This is crucial for making your websites visually appealing and engaging for users.

Understanding HTML Basics
Firstly, let’s understand that webpages are created using HTML (Hypertext Markup Language). HTML provides a structure for web content, including text, images, links, and more. To insert an image, we use a specific HTML element called <img>.
Anatomy of the <img> Tag
The <img> tag is used to embed images in a webpage. Here’s its basic structure:
<img src="image-url.jpg" alt="Description of the image">

src: This attribute specifies the URL or path to the image file. It tells the browser where to find the image. For example,src="https://example.com/image.jpg".alt: This attribute provides alternative text for the image. It’s important for accessibility and SEO (Search Engine Optimization). If the image cannot be displayed, the alt text will be shown instead.
Steps to Insert an Image
- Find or Create Your Image: First, you need to have an image file. You can either download one from the internet or create your own.
- Store the Image: Upload the image file to your web server or include it in your project folder if you’re working locally.
- Write the HTML: Use the
<img>tag with appropriate attributes:
<img src="path/to/your/image.jpg" alt="Description of the image">
- Replace
path/to/your/image.jpgwith the actual path or URL of your image file. - Preview Your Webpage: Open your HTML file in a web browser to see the image displayed on your webpage.

Best Practices and Tips
- Always use descriptive
alttext to describe the image content. - Ensure the image file path (
src) is correct and accessible. - Optimize your images for web to improve page loading speed.
- Consider using responsive images for better display on different devices.
Exam Note:
To insert an image into a webpage using HTML, use the <img> tag with the src attribute pointing to the image file and the alt attribute providing alternative text. This tag is essential for incorporating visuals into web content and should be used with attention to accessibility guidelines. Remember to test your webpage in different browsers to ensure proper image display.

How to Insert an Image in a Webpage
| Topic | Details |
|---|---|
| HTML Basics | Webpages use HTML to structure content, including images. |
<img> Tag | – Used to insert images. <br> – Syntax: <img src="image-url.jpg" alt="Description">. |
| Attributes | – src: Specifies image file path or URL. <br> – alt: Provides text description of the image. |
| Steps to Insert | 1. Find or create image file. <br> 2. Upload to server or project folder. <br> 3. Use <img> tag with src and alt attributes. |
| Best Practices | – Use descriptive alt text. <br> – Ensure correct src path. <br> – Optimize images for web. <br> – Consider responsive design. |
Exam Note:
- Inserting images in webpages is done using the
<img>tag in HTML. - Include
srcfor image path andaltfor description. - Verify image display across different browsers for consistency.
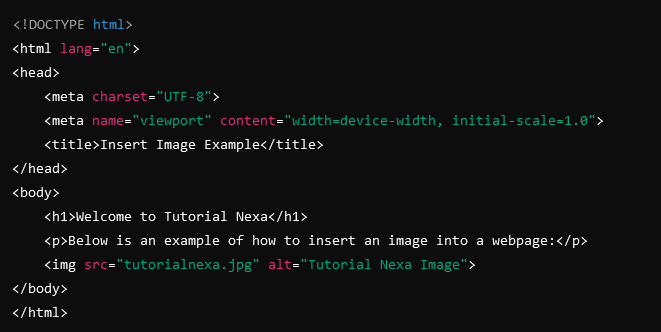
Example :
<!DOCTYPE html>
<html lang="en">
<head>
    <meta charset="UTF-8">
    <meta name="viewport" content="width=device-width, initial-scale=1.0">
    <title>Insert Image Example</title>
</head>
<body>
    <h1>Welcome to Tutorial Nexa</h1>
    <p>Below is an example of how to insert an image into a webpage:</p>
    <img src="tutorialnexa.jpg" alt="Tutorial Nexa Image">
</body>
</html>

